Saturday, May 7, 2016

Spring 2016 Garden Update

,,


Haven't posted in a long while, so I thought it was about time I added to the archive.  Here's a close-up of my beloved cherry tree (this is the bing cherry graft.). This year I bought a "bird net" to help prevent the birds from eating all of them.


Here is the rain garden. I added some new false cream indigo, Cardinal flower, monkey flower, turtle flower, queen of the prairie, marsh marigold, and orange globe. Not sure that the Orange globe is actually a native plant, but the picture from the tag was so pretty and it is supposed to do well in wet areas.


Sunday, May 10, 2015

Tree updates April/May 2015

I think the fish hydrolysate and lactobacillus must be paying off, as the flowers this spring have been so beautiful.  Below is a picture of the 5-in-1 semi-dwarf cherry with a close-up of the bing branch.  This was taken around the end of April.


The Montmorency was the last graft to bloom, but overall, I thought the blooms were more attractive and longer lasting than the ornamental cherry we have (see below).


Now, the cherry tree has started to fruit.  Even though I know that usually you are supposed to remove the fruit until year 3-4, I'm considering keeping at least some of the cherries, if nothing else than for checking for taste.  The photo below shows some of the tiny bing cherries starting to form.  The leaves are also looking nice and lush.


The nannyberry tree is doing very well; it's already had about 5.5 inches of growth.  It didn't flower 
this spring, but hopefully it will next year.  (I hope it doesn't need another to cross pollinate...)


I took advantage of the Morton Arboretum's annual plant sale and purchased a Persian ironwood, baby Joe Pye Weed, and  2 ruby slipper hydrangeas.   Both the Persian ironwood and hydrangeas are supposed to be have beautiful fall foliage, especially the Persian ironwood--I've seen photos online of it showing yellow, red, and orange all at the same time.

Persian Ironwood 


During that same Arbor Day weekend, I picked up 2 New Jersey Tea leaf shrubs, and an  iron weed and regular now pye for the for the rain garden. /div>


Wednesday, March 25, 2015

Making homemade fish hydrolysate

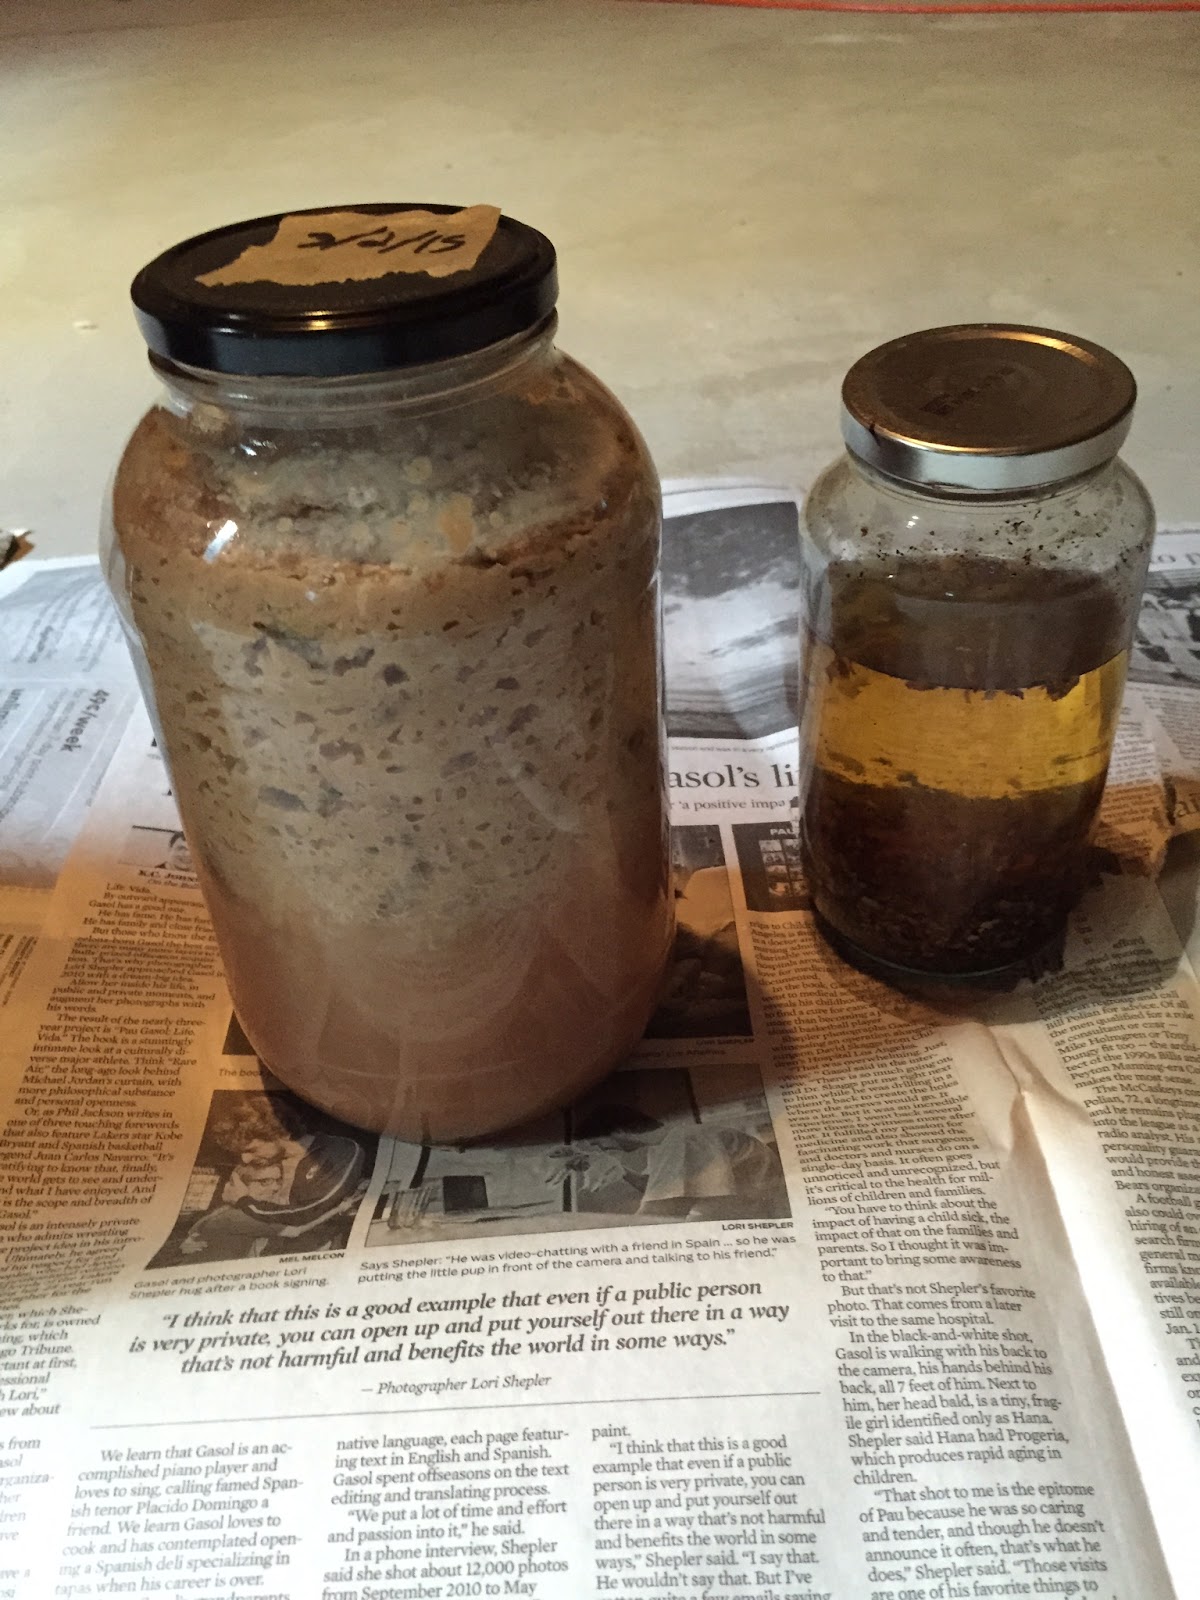
Perhaps it's the cold weather and the general chilliness of the basement, but my fish hydrolysate experiment is not quite progressing as quickly as I'd like.  I followed the recipe for making this fish fertilizer on the Unconventional Farmer and it's supposed to take ~20 days to ferment, but  mine still looks like sludge.

Below is a series of the progression of the puréed rainbow trout, molasses, water, and lactobacillus mixture started on March 2:
Day 1: Raw fish blended with water, molasses, and lactobacillus serum


I had decided to keep it in our basement as I expected the smell would probably get to be a bit intense, but with the fresh puree, there really wasn't much smell at all.

Day 7: purée separting liquids from semi-solids, along with batch of egg shell Cal Phos fertilizer

Day 14: not much difference, but seemingly less air pockets with the semi-solids


Day 21: decided to move upstairs to laundry room to warm it up and hopefully accelerate the fermentation process

I have tried shaking the bottle a bit to get the contents to mix a little better and put more of the fish purée into direct contact with the lactobacillus, but it still smells awful and still has visible chunks.  Looking at the bottom liquid, it's actually more viscous than I would have expected.  I've never actually seen fish hydrolysate, but I'm wondering if it is actually more gelatinous when it is a finished product.  It is supposed to be great source of nitrogen for plants and is used in compost tea to boost the fungal content, so I imagine it will be great for the fruit trees, if I can get it to properly ferment.  Does anyone have experience with making/ using fish hydrolysate in their garden?  Any advice?


Saturday, January 3, 2015

Composting in winter

Since we are in the middle of winter, I had been salivating over seed catalogues and surfing the net searching for gardening tips, when I came across a number sites discussing bokashi indoor composting.  While I have been doing indoor vermicomposting for about 10 years, currently with a Worm factory 360 which I love ( much to the chagrin of many husband), bokashi composting has several advantages:

  • Can compost dairy, meat, and bones
  • Leachate can be diluted for liquid soil conditioner and used undiluted to clear drains
  • Don't need to worry about maintaining balance between "greens" and "browns"
  • Compost can be completed in as little as 6-8 weeks
  • No "creepy crawlies", so husband is okay with keeping in the kitchen
Additionally, some have used the bokashi composting method with pet waste on ornamentals.  While I am very intrigued about using this to recycle my dog's waste, I figured I would start with the regular indoor bokashi than maybe add another outdoor bucket system in the spring.  Below is the starter kit I got from Amazon. 


 Basically, you put in your daily food waste (max 2-3 in deep), toss a handful or so of bokashi bran, seal it up, and repeat until full. Every few days you should drain the leachate for household or garden use ( you can shake around and listen for liquid).  After full, it will need to sit and continue to ferment for 10-14 days.  Since the food is actually "pickled" rather than "composted", in order to complete the process, the food needs to be buried for another 2 weeks or so either in the garden or in a big tub filled with soil, so that the microbes in the soil can break it all down.  I've been using my bokashi system for a little under a month now, and it is about 3/4 full, as you can see in the picture below.


I'd seen some tips about putting a plastic bag or paper plate on top, to help minimize contact with air, but I decided to use an old frisbee, as it can also be used to help compress the food after each addition.  So far it's been working out great.  I've been putting fresh scraps (fruit veggie peels and leftovers from my kids' plates) into the bokashi bucket, and putting any spent fruits and veggie scraps (stuff that is forgotten in the back if the fridge) into the worm bin.  (Will give more details and tips on vermicomposting in a separate post.)  

While it is not exactly odorless, the smell of the bokashi bin is not unpleasant, either.  It is sort of a sweet sour heady scent that reminds me a little of the smell of sourdough starter. To date, I've only gotten about 1/2 a teaspoon of leachate, which I diluted in a cup of water and sprinkled on house plants (slight perk-up).


My only concern is with the ongoing cost of buying bokashi bran, so I've been researching how to make your own bokashi serum to inoculate bran, newspaper, sawdust, etc for use in the bin.  My favorite site has been the Unconventional Farmer, which also has a lot of great recipes for homemade earth friendly concoctions to increase plant production.  Currently, I'm brewing up a lactobacillus serum for the bokashi bin ( see jar with curds below)  and a batch of Calphos (made from charred eggshells and apple cider vinegar) for  flower growth.  These all take time, but I'm hoping it will all pay off in the spring...


Saturday, December 13, 2014

Meyer lemon tree looking a little sad...

Well, had to bring in the Meyer lemon for winter; unfortunately the only spot inside with decent lighting is by a vent, which I think is drying it out (note leaf drop and browning of edges).  Any tips on care would be appreciated.  I plan on picking the 2 lemons within the next couple weeks (or when they finish turning yellow, so maybe that will help...

L is for lemon

Tuesday, October 14, 2014

October Updates: 2 new apple trees and rain garden planted

Cherries and apples

My favorite part of fall has always been apple picking, now, with some luck, in just 2-3 more years,
we'll be able to do this from our own backyard.  Home Depot was having a 50% off all trees sale, and I couldn't resist--2 year old potted trees for less than $30--how can anyone pass that up?

In the photo above, you can see the cherry tree from last spring on the left, in the center is a yellow delicious tree (I'm assuming this is the same as "golden delicious," or at least I'm hoping, since I bought it primarily for the purpose of it being a great pollinator), and the one on the right is a honeycrisp (my husband's favorite eating-out-of-hand apple).

I had tried to pre-order a 4-in-1 antique apple tree from Stark Brothers, but apparently they were sold out, but I'm still waiting on a shipment of a Burbank July Elberta dwarf peach tree from them.  It's supposed to arrive Nov 3, in homage to my husband's great uncle, Luther Burbank.

Also, I planted the rain garden and bought a couple extra plants that are still in pots--queen of the prairie which produces amazing pink cotton candy like blooms, an echinacea purpurea, and a rudbekia with vanilla scented leaves, that I can't remember the name, but they were also 30-50% off.

Rain garden


It's been raining on and off for the past few days, so hopefully it is paying off (haven't seen any basement leaks yet).  I'm thinking I might need to move the drain pipe over to the far left, as the slope of the yard leads to more pooling on the right.

Additionally, I planted some tulip, narcissus, and crocus bulbs, but I still have a few dozen more to plant, when I get the time.

Pulled the tomatoes out of the ground and planted some spinach seeds in a cold frame.  The seeds are from 2012, so I'm not sure what the germination rate will be, but I'm hopeful for at least 50%.   I guess we'll see in another week or so...


Tuesday, September 30, 2014

Fall Rain Garden

Since we sometimes get some leaking in our basement when there is heavy rain, I had started researching the use of rain gardens as a way to help control water flow.  Found a really comprehensive guide through the Wisconsin extension office and ended up purchasing a per planned garden of 64 plants at Prairie Nursery.

Below is how we dug up the front lawn for a an approximate 15'x7' garden.

With all the super dry clay soil, it was really hard work and ended up taking about 4 days working in 1-2 hour stretches, but it finally got dug.  Today, I borrowed my dad's rototiller and added a bit of top soil, manure, and compost to help loosen and enrich the soil a bit.  Then, I laid out the plants according to the plan ( plus 2 additional butterfly weed plants for clay soil that I bought).


Tomorrow, I am hoping to actually put them in the ground, since this Thursday there is an 80% chance of rain, so we'll get to try it out for the first time.  It will probably take a couple years to get established, but I'm really looking forward to having a beautiful low maintenance native prairie rain garden.  I am hopeful it will attract butterflies, dragonflies, and birds that we can watch from our upstairs balcony.

I also bought a Nannyberry tree, which is supposed to have pretty white flowers in the spring and raisin like berries in the fall/winter, but we haven't finalized the location, but I was thinking of putting it by the back corner of the house. You can see it's starting to turn pink below ( you can also see the new spicebush starting to turn golden yellow behind it.)


Since it's been a while since my last posting, I'm also including a few pix of the bird feeder /climbing vines pot with cranberry honeysuckle and pink and purple clematis.


Our mysterious pumpkin vine that planted itself.


And a few pictures of the square foot butterfly garden and limelight hydrangea starting to turn pink.